Docker is one of the most popular solution to get your services running in the containers. These containers allow us to run and deploy applications irrespective of the Operating System.
Today, we will learn about dockerizing a React app along with Nginx. We will build an image with a React app built with Create React App and serve it with Nginx and we will make use of multi-stage docker builds to achieve this.
We will also learn about optimizing your Dockerfile to make better use of the caching strategies offered by Docker.
CREATING A REACT APP
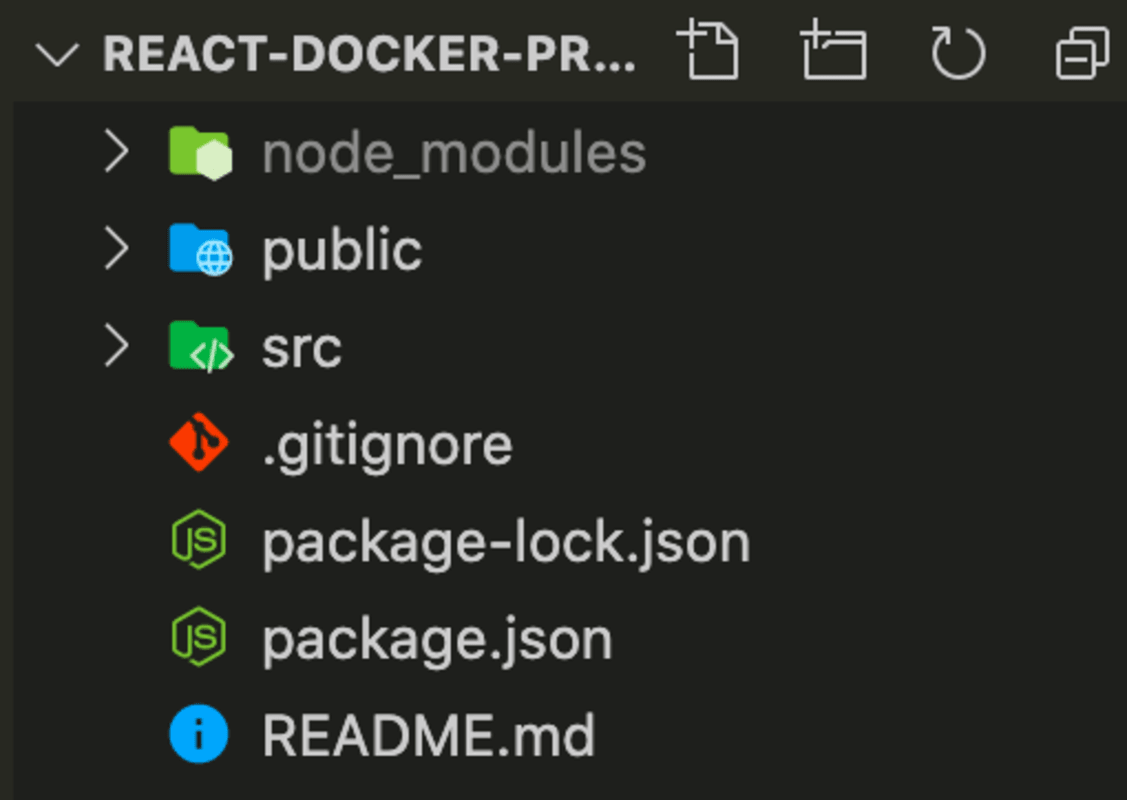
Let's start by creating a React app with CRA.
npx create-react-app react-docker-projectThis will create a template React app which would look like this.
 We are set to go with our React app. Now, Let's start writing our Dockerfile.
WRITING A DOCKERFILE
Create an empty file named as Dockerfile in the root of the project and write the following commands.
#get the latest alpine image from node registery
FROM node:alpine

#set the working directory
WORKDIR /app

#copy the package and package lock files
#from local to container work directory /app
COPY package*.json /app/

#Run command npm install to install packages
RUN npm install

#copy all the folder contents from local to container
COPY . .

#create a react production build
RUN npm run build
Let's understand this file step by step:
FROM node:alpine: TheFROMinstruction initializes a new build stage and sets a base image for further instructions. A validDockerfilemust start from a FROM instruction. Our instruction here pulls the NodeJS alpine image. Alpine is a lite version of the full image with a lot lesser size and limited features, but most of the times it does the job and it would do the same here in our case.WORKDIR /app/: TheWORKDIRinstruction sets the working directory for anyRUN,CMD,ENTRYPOINT,COPYandADDinstructions that follow it in theDockerfile. IfWORKDIRdoesn't exist, it will be created. Here we create app directory.COPY package*.json /app/: TheCOPYinstruction copies new files or directories from given directory on local and adds them to the filesystem of the container at the path destination given.ADDinstruction also works the same but has some other benefits such as it can ADD from a remote url too.RUN npm install: Docker creates container images using layers. Each command that is found in aDockerfilecreates a new layer. TheRUNinstruction will execute any commands in a new layer on top of the current image and commit the results. Here we run npm install command to install the packages.COPY . .: This copies all the contents inside our directory on the local machine to the container file system.RUN npm run build: We run the npm run build command to make a production build of our CRA project and the output would be stored to folder namedbuildinside our project folder on the container.
You might me guessing that when we are doing COPY . . on the second last line why did we copy package.*json differently at the top. It is related to layering and caching in Docker. Docker uses a layer cache to optimize the process of building Docker images and make it faster.
Docker creates container images using layers. Each command that is found in a Dockerfile creates a new layer. Each layers contains the filesystem changes of the image between the state before the execution of the command and the state after the execution of the command. Docker Layer Caching mainly works on RUN, COPY and ADD commands.
Now if the contents of all external files on the first COPY or ADD command are the same, the layer cache will be used and all subsequent commands until the next ADD or COPY command will use the layer cache. So, using package.*json uses this cache and prevents the repeated npm install command which saves us a lot of time while building our image, otherwise if we didn't COPY package separately, our cache would have been invalidated by the new files in . . COPY instruction. So, copying the package early helps in using the cache.
.dockerignore file
Also, we need to add node_modules into the ignore file so that we don't copy that along with other files into the container. Just like .gitignore we have .dockerignore file where we will add node_modules.
node_modules.dockerignore Now, it is time to link our React build with Nginx. Let's continue writing our Dockerfile further.
#get the latest alpine image from node registry
FROM node:alpine AS build-stage

#set the working directory
WORKDIR /app

#copy the package and package lock files
#from local to container work directory /app
COPY package*.json /app/

#Run command npm install to install packages
RUN npm install

#copy all the folder contents from local to container
COPY . .

#create a react production build
RUN npm run build

#get the latest alpine image from nginx registry
FROM nginx:alpine

#we copy the output from first stage that is our react build
#into nginx html directory where it will serve our index file
COPY --from=build-stage /app/build/ /usr/share/nginx/html
You must be wondering about the 1st line, why i have used AS build-stage , well it's for something known as multi-stage builds, we are making use of the node image in the first stage and every FROM instruction creates a new stage, so you can selectively copy stuff from one stage to another, leaving behind everything you don’t want in the final image, thus reducing our image size. But, to reference the stage we are making use of AS otherwise it can also be done with --from=0 .
Now coming to the last line COPY --from=build-stage /app/build/ /usr/share/nginx/html here we copy the build that was generated in stage 1 that is build-stage to the directory from where nginx will serve our react app.
Now, we are done with the nginx part, we can make an image using build command and run it using run command.
We can build our Dockerfile to an image using, run this command inside the react directory.
docker build -t react-docker:latest .This will build our image and name it react-docker and tag it latest.
Let's run our image now
docker run -d -p 3000:80 react-dockerThis will run our container on port 3000 and you can access it on localhost:3000, -d stands for de-attached mode and -p stands for port and it maps to a port inside the container, here nginx works on port 80 so we map our local machine's port 3000 to port 80 inside container.
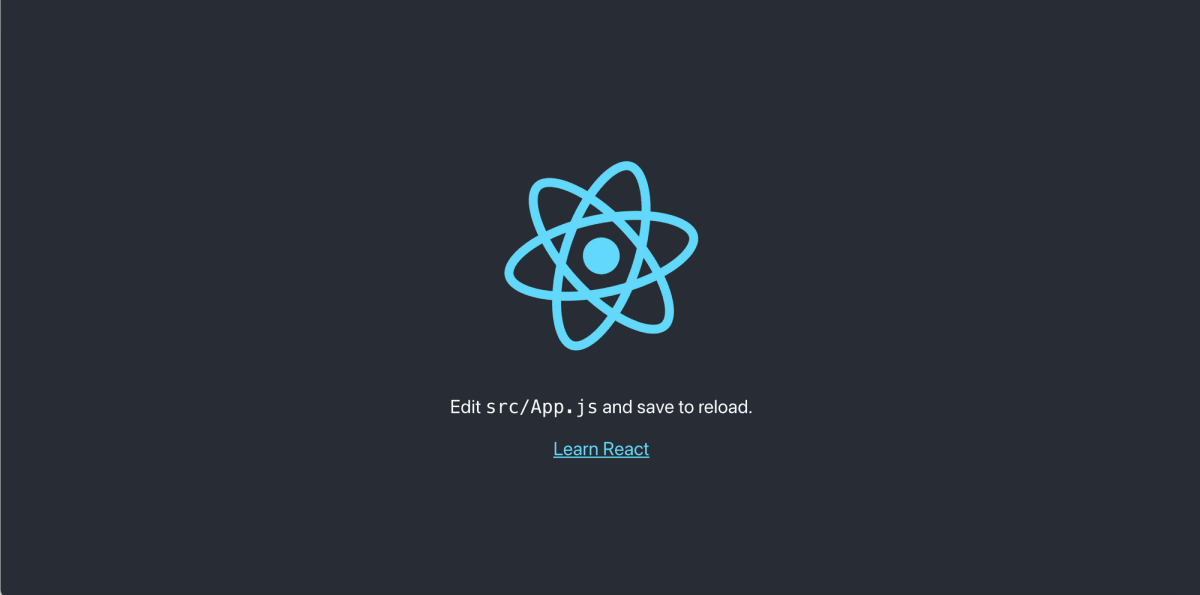 Your React App up and running on localhost:3000
So, we have our React app up and running. We have learned how to setup our React app with nginx and multi stage builds and also leveraging the cache policy of Docker.
Your React App up and running on localhost:3000
So, we have our React app up and running. We have learned how to setup our React app with nginx and multi stage builds and also leveraging the cache policy of Docker.
You can find the code used in this blog on my github github.
We will learn the in next part on how to connect our React app with nodeJS container.
Liked my work. Buy me a coffee.
Do write down your reviews or send in a mail from the contact form if you have any doubts and do remember to subscribe for more content like this.