Getting Started
This is one of the most searched topics on the internet by the newbie developers on how to integrate VueJS with socket.io. As most of the apps make use of sockets for real time communication of the Frontend with the Backend. So, today we will be talking about how to integrate socket.io with a Vue app.
Creating a NodeJS Express App
Let’s start by creating a node project first.
Create a new directory and then enter it.
mkdir socketio-nodeThis will create a empty folder with name socketio-node.
We’re going to use the Node.JS web framework express. Make sure Node.JS is installed on your system.
First let’s create a package.json manifest file that describes our project.
Create a file named package.json and paste the below code into it.(You can also do it with npm init)
{
  "name": "socketio-node",
  "version": "0.0.1",
  "description": "my first socket.io app",
  "dependencies": {}
}
Now, in order to easily populate the dependencies property we need to install express, type this in the terminal.
npm install expressIt will install and add the latest version of express into our project and your dependencies will now look like
"dependencies": {
  "express": "^4.17.1"
}
Now that express is installed we can create an index.js file that will setup our application.
const app = require('express')();
const http = require('http').createServer(app);

app.get('/', (req, res) => {
  res.send('<h1>Hey Socket.io</h1>');
});

http.listen(3000, () => {
  console.log('listeninghttp on *:3000');
});
This code is explained in the following steps:
- Express initializes
appto be a function handler that you can supply to an HTTP server (as seen in line 2). - We define a route handler
/that gets called when we hit our website home. - We make the http server listen on port 3000.
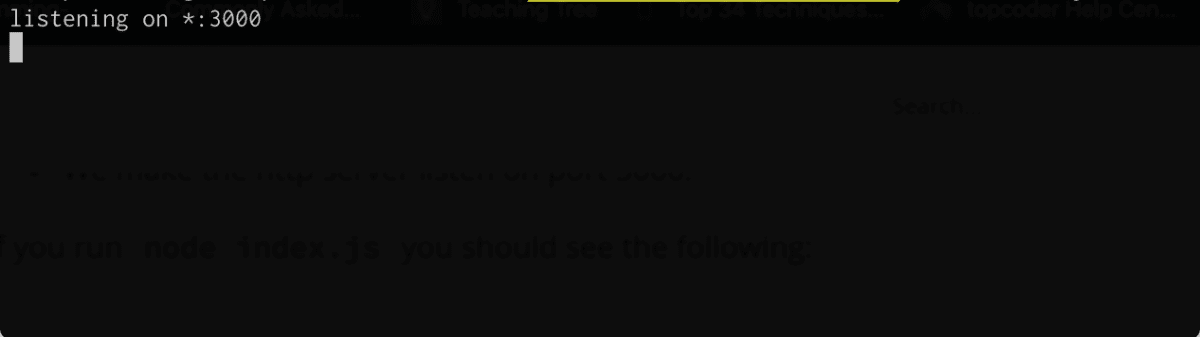
If you run node index.js you should see the following:
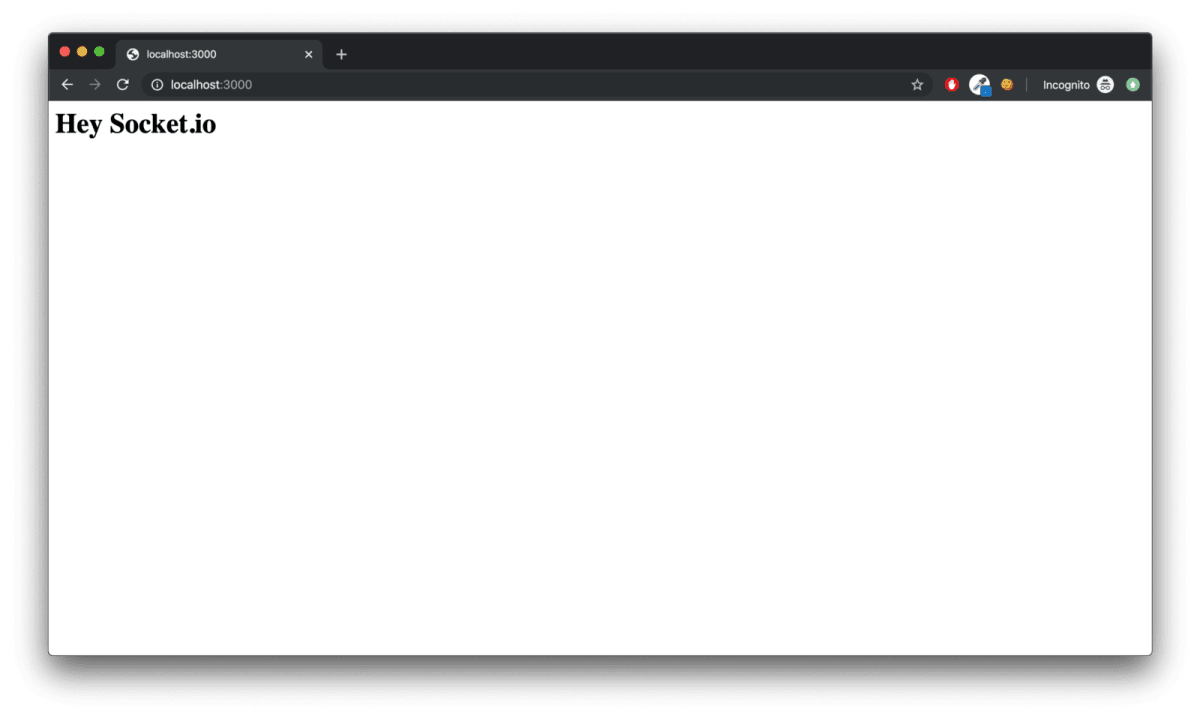
 Opening https://localhost:3000 in browser would look like:
Integrating Socket.io with NodeJS
Now let’s integrate socket.io into our node app. Firstly, we need to install socket.io dependency into our app. Run this in the terminal.
npm install socket.ioThis will install the module and add the dependency to package.json. Now let’s edit index.js to add it:
const app = require('express')();
const http = require('http').createServer(app);
const io = require('socket.io')(http, {
  cors: {
    origins: ['https://localhost:8080']
  }
});

app.get('/', (req, res) => {
  res.send('<h1>Hey Socket.io</h1>');
});

io.on('connection', (socket) => {
  console.log('a user connected');
  socket.on('disconnect', () => {
    console.log('user disconnected');
  });
});

http.listen(3000, () => {
  console.log('listening on *:3000');
});
Notice that I initialize a new instance of socket.io on line 3 by passing the http (the HTTP server) object and the cors options to allow our vue localhost url, you can put in the url or your frontend client, in my case it was localhost:8080
Then I listen on the connection and disconnection events for incoming sockets, and I log it to the console.
Our Backend is good to go for now, we will come back to our node code when we will implement more events further on.
Creating a Vue app
Let’s start by creating an Vue app now. I will be creating a new Vue app from scratch, while most of you would already have one created with you.
Those who already have a working Vue app can skip the following code:
npm install -g @vue/cli
vue create socketio-vue
This would install the latest version of Vue CLI and create a new Vue app from scratch.
Now let’s add socket.io dependency in our Vue app.
cd socketio-vue
npm install socket.io-client
This would install the latest socket.io-client library in our Vue app.
Now let's add the socket endpoint in our .env file in the root of the project. You can do it anyway you like, if you want to keep it as a constant in your file or any other way.
Let's start by creating a .env file
touch .envOpen this file and add
VUE_APP_SOCKET_ENDPOINT=https://localhost:3000
This adds the endpoint of our local backend socketio server. I have added a prefix VUE_APP in the endpoint as variables that start with VUE_APP_ will be statically embedded into the client bundle by the Vue CLI . It is to avoid accidentally exposing a private key on the machine that could have the same name.
Creating a socket client service
Create a file for adding a wrapper of socket io on the client side. I will start by creating a services folder and a file name socketio.service.js inside that.
My folder would something like this
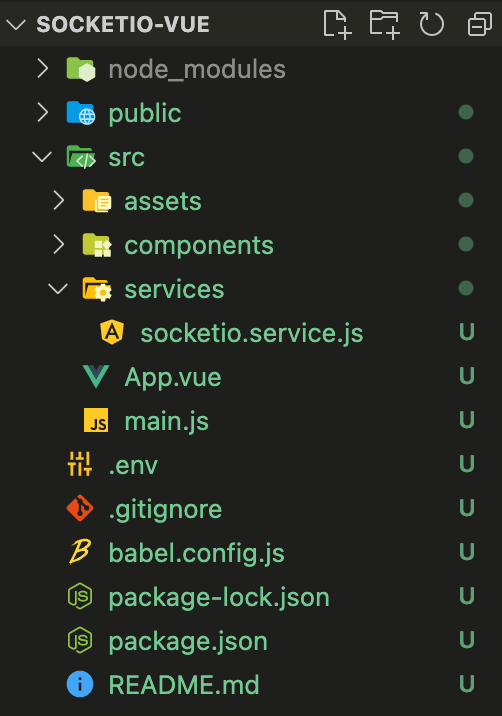 Now, go into the
 socketio.service.ts file and import the following:
import { io } from 'socket.io-client';And write a socket initialize method
import { io } from 'socket.io-client';

class SocketioService {
  socket;
  constructor() {}

  setupSocketConnection() {
    this.socket = io(process.env.VUE_APP_SOCKET_ENDPOINT);
  }
}

export default new SocketioService();
This will declare a variable named socket and then after calling the setupSocketConnection method, socket variable would be containing the connected socketio object.
We have our service ready. Let's call it from our App.vue component. I have removed the components HelloWorld that is automatically generated by Vue as it was not of our use.
In App.vue let's import and call our service init method in the created hook.
<script>
import SocketioService from './services/socketio.service.js';

export default {
  name: 'App',
  components: {},
  created() {
    SocketioService.setupSocketConnection();
  }
}
</script>
The above code will initialize our socket connection when the created hook fires in the lifecycle of the App component.
After running the Vue app now with npm run serve, you can see the socket connected in the network and our nodeJS app console showing a user connected like this:
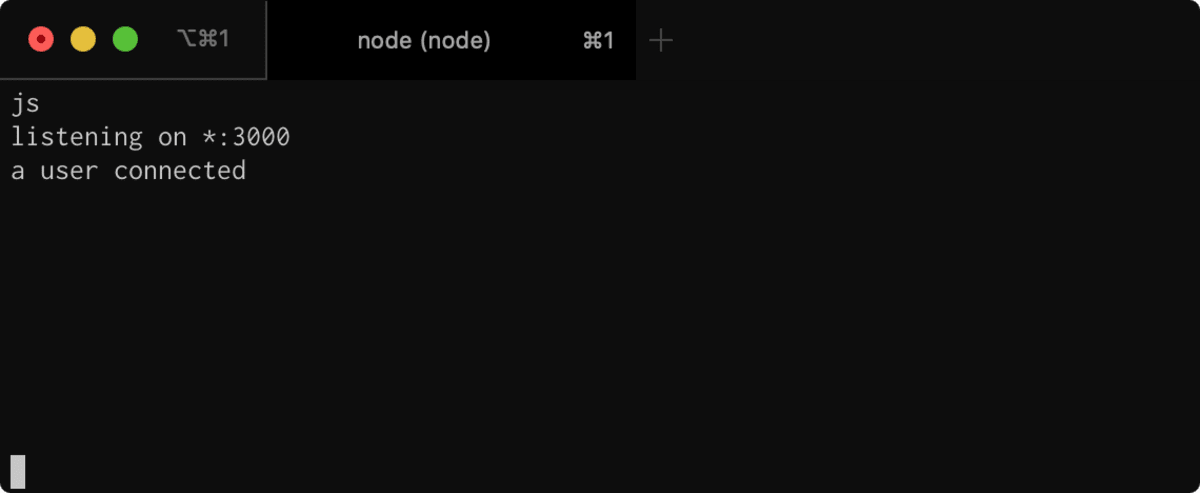 Congrats. We have successfully connected our socket to our Backend.
Disconnection
Now, let's try to disconnect the socket, we will use the beforeUnmount hook of Vue.
<script>
import SocketioService from './services/socketio.service.js';

export default {
  name: 'App',
  components: {
  },
  created() {
    SocketioService.setupSocketConnection();
  },
  beforeUnmount() {
    SocketioService.disconnect();
  }
}
</script>
In your socketio.service.js file add this method for disconnection
disconnect() {
  if (this.socket) {
    this.socket.disconnect();
  }
}
This will disconnect our socket as soon as the component gets destroyed. Also, the socket would get disconnected when we close the tab automatically, whether we handle it here or not, tab closing is handled by default.
When you disconnect the socket or close the webpage, you can see user disconnected message on console.
With this, we have completed our initialization of sockets. Now we will learn about how to emit and listen to events.
Event Handling
Let’s register an event called my message inside our index.js in nodeJS project file and console the data and we will emit the same event from Vue app.
io.on('connection', (socket) => {
  console.log('a user connected');

  socket.on('disconnect', () => {
    console.log('user disconnected');
  });

  socket.on('my message', (msg) => {
    console.log('message: ' + msg);
  });
});
And let’s emit the same event from Vue code, in socketio.service.js file, add the line below socket initialization.
setupSocketConnection() {
  this.socket = io(process.env.VUE_APP_SOCKET_ENDPOINT);
  this.socket.emit('my message', 'Hello there from Vue.');
}
This code would emit the event named my message and it would print the following on our node console. You can see the message ‘Hello there from Vue’. Our custom events are now working.
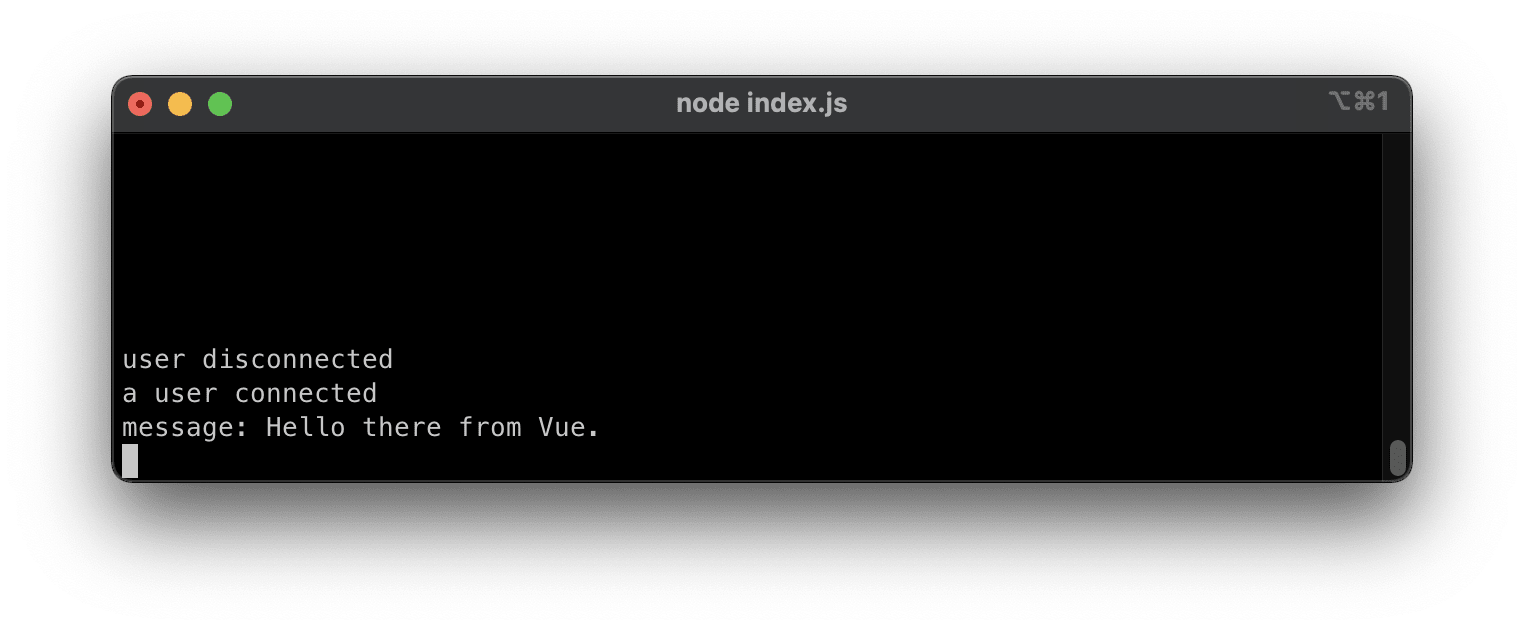 NodeJS console log
Broadcasting Event
Now, let’s emit an event from the server side. We will broadcast the event to all connected users. We will broadcast the same message that we received from client and prepend a server string to it.
io.on('connection', (socket) => {
  socket.on('my message', (msg) => {
    io.emit('my broadcast', `server: ${msg}`);
  });
});
Let’s add an listener for my broadcast event on our Vue app now.
this.socket.on('my broadcast', (data) => {
  console.log(data);
});
After doing this, you can check your browser console, it would print something like this. It prints a message from server, that emitted the broadcast.
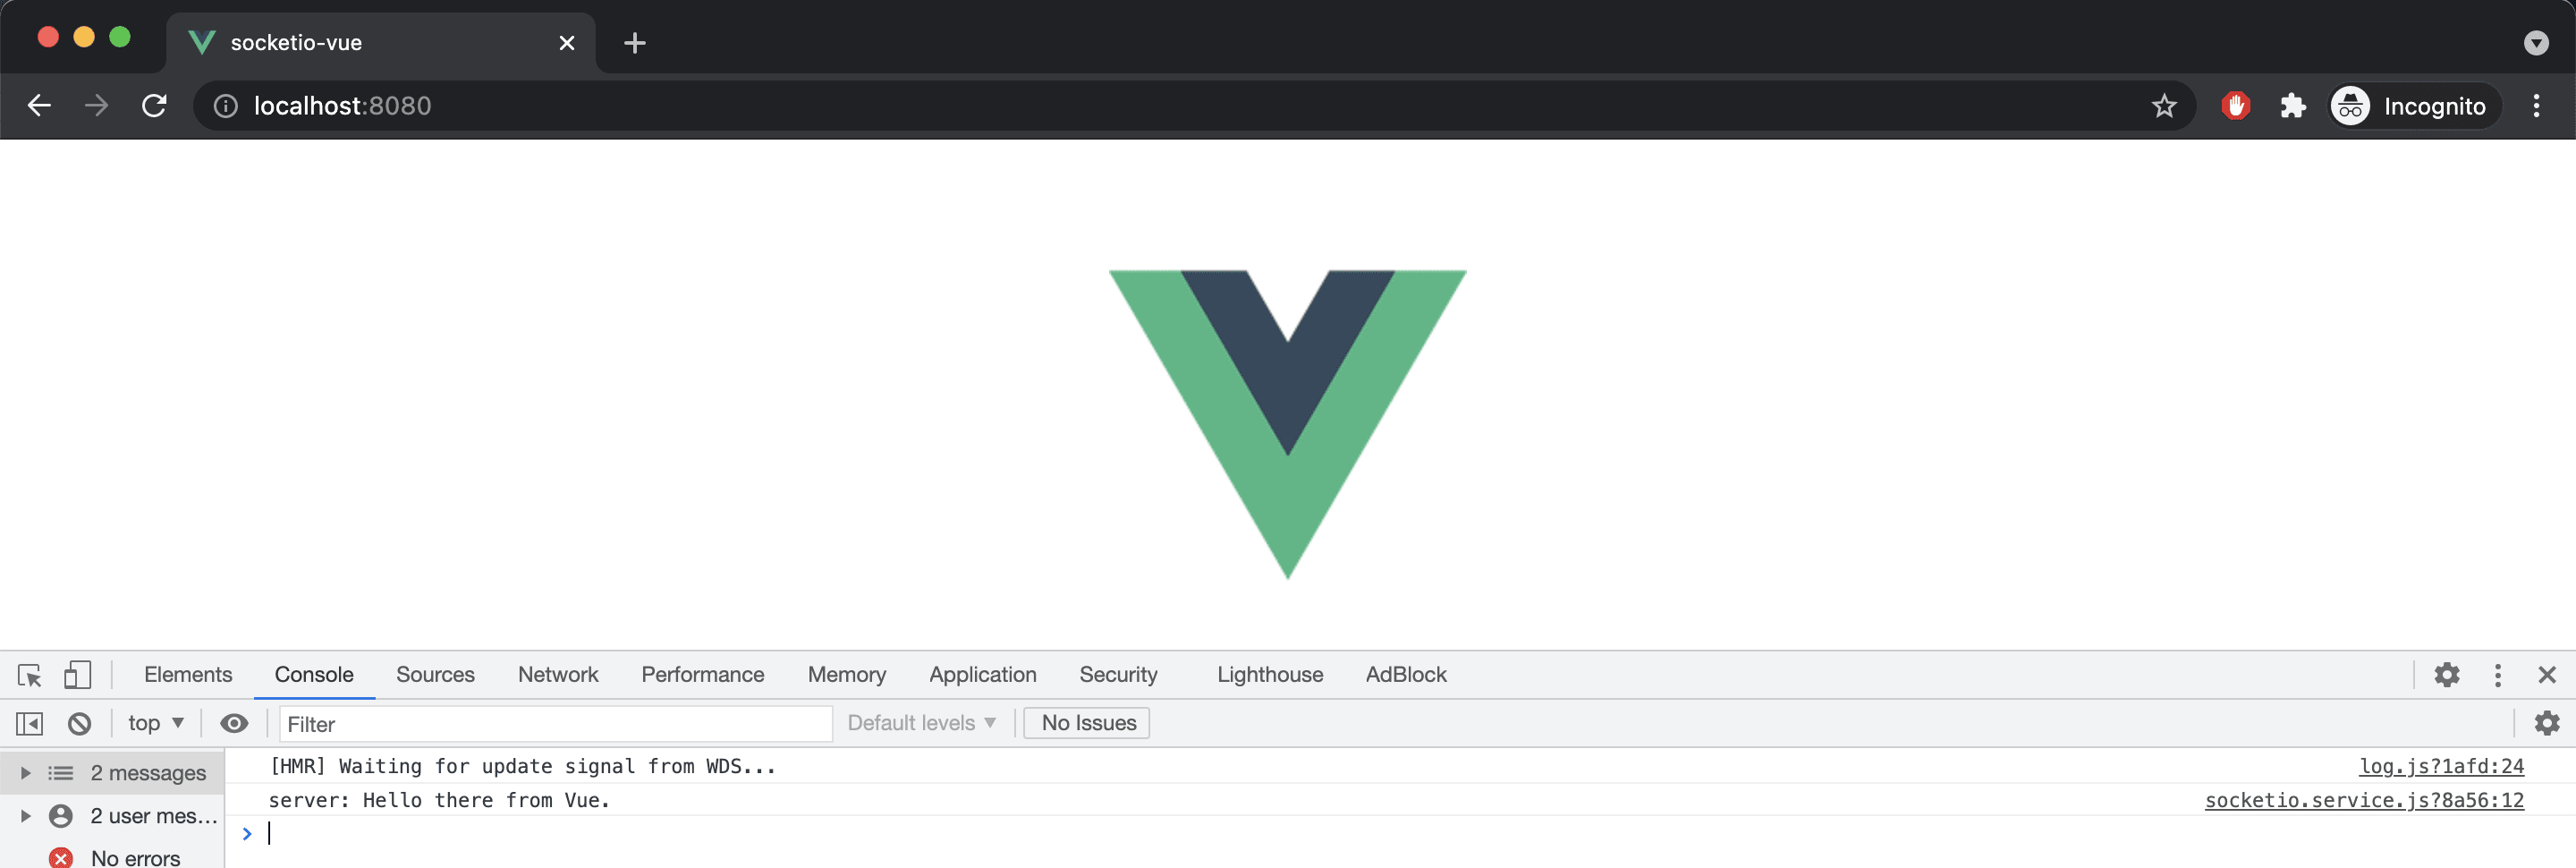 Browser Console of Vue app
We have covered the
Browser Console of Vue app
We have covered the basic parts of connecting an nodejs express socket.io app with an Vue app.
BONUS: Authentication
You can also send query parameters to the Backend when connecting to the socket by using options with url in a connection.
this.socket = io(process.env.VUE_APP_SOCKET_ENDPOINT, {
  auth: {
    token: 'abc'
  }
});
To fetch this information on the Backend, we have to do it like this:
io.on('connection', (socket) => {
  let token = socket.handshake.auth.token;
});
This would return the value cde passed by Frontend.
You can check all of the above written example code at my github.
This concludes my article about creating a real time application with Vue and Socket.io with NodeJS.
The next part of this article explains the concept of rooms, realtime one to one chat and group chat. Continue reading in Part 2 of Creating a Real-Time Chat App with Vue, Socket.io, and Node.js.
Liked my work. Buy me a coffee.
Do write down your reviews or send in a mail from the contact form if you have any doubts and do remember to subscribe for more content like this.